Tanking
Tanking and Cellar Conversions in Herefordshire
What is Tanking?
Tanking is a process used for damp proofing. The old method of doing this is to batten the inner wall surface out and then panel over the top of it. This would be okay for a while but due to the moisture presence, eventually the wooden panelling would itself become damp and then rot. As technology has moved forwards, this eventually gave birth to tanking.
Here I will cover the tanking of wet or damp walls and keeping water and moisture at bay to prevent it from damaging inner surfaces. If after reading this post you still need advice on any aspect of tanking or damp proofing then contact us on 07713279819 and we will be pleased to assist you. We cover all of Hereford and the surrounding towns in the region, such as Ledbury, Ross, Monmouth, Malvern, Leominster and Bromyard.
Tanking Walls for Damp Proofing – Choice of Methods. There are three main ways for tanking wet walls and these are:
1. Liquid bitumen coating – painted onto the cleaned brickwork, stone, block or render – difficult to apply to old, damp salty masonry, prone to separation from the wall and render coats due to incomplete curing. Best for non-critical small jobs, or external coating below the damp proof course;
2. Cement based slurry – applied by soft brush onto damped, cleaned brickwork, stone, block or render – easier to apply because the cement base wants to amalgamate with the masonry and mortar. Not a true vapour barrier, so needs to be finished with ‘breathing’ materials. Ideal for partial below ground situations or exterior coating on foundation walls.
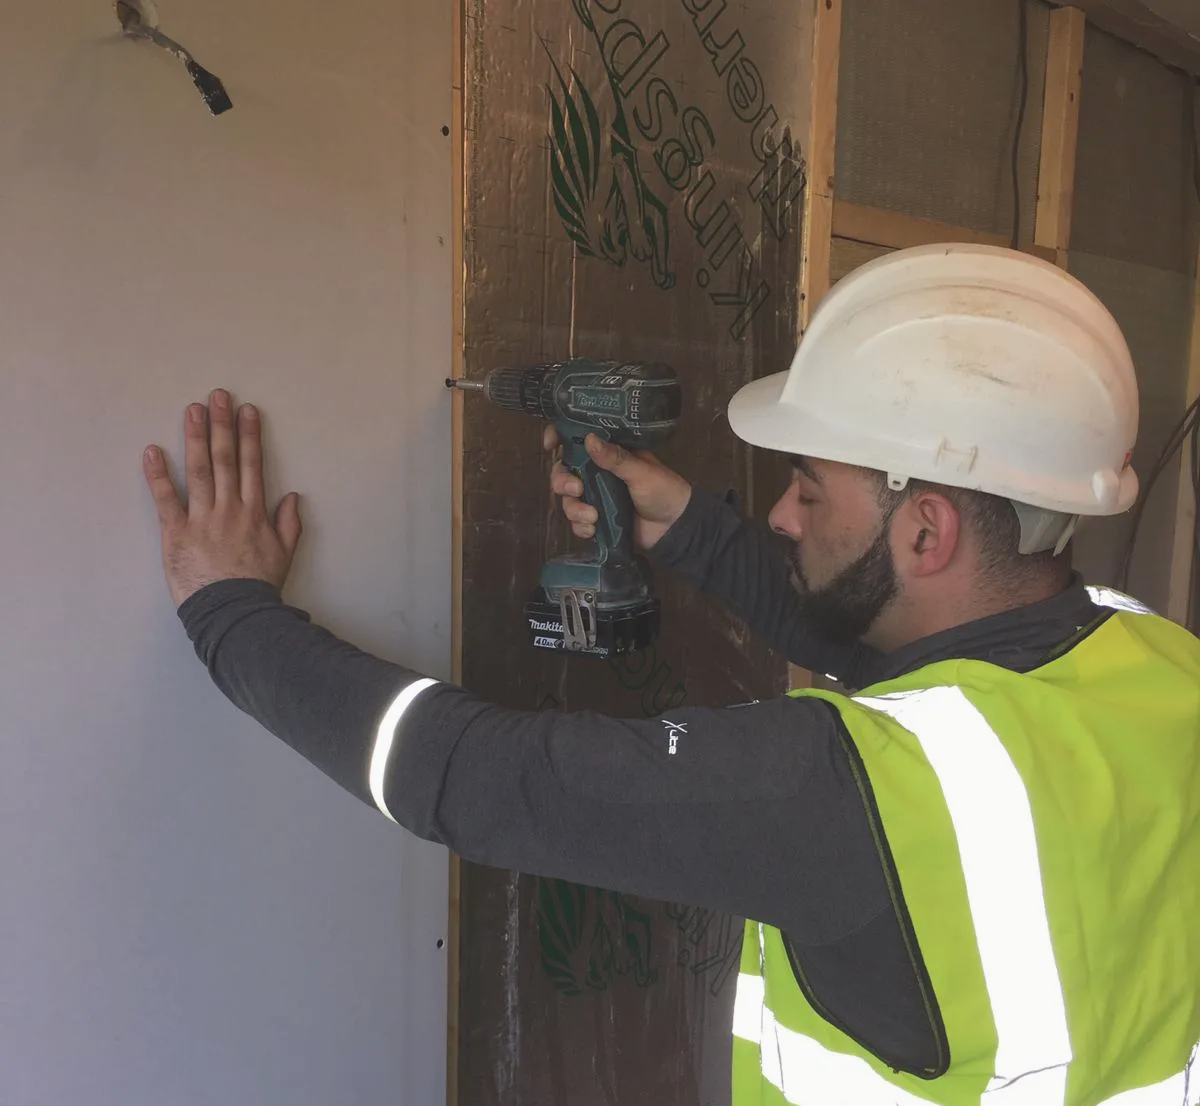
3. Air gap membranes – not strictly ‘tanking’ in the same way as liquids – it is a dimpled plastic sheet fixed onto brick, stone, block or render with plastic plugs to form an air gap cavity. These Membranes can have a plain surface, for battening or a Mesh surface for direct plastering or plaster boarding. Ideal for cold, single leaf walls and for lining rooms with cold solid 9 inch walls.
Tanking Slurry – This Is How We Apply
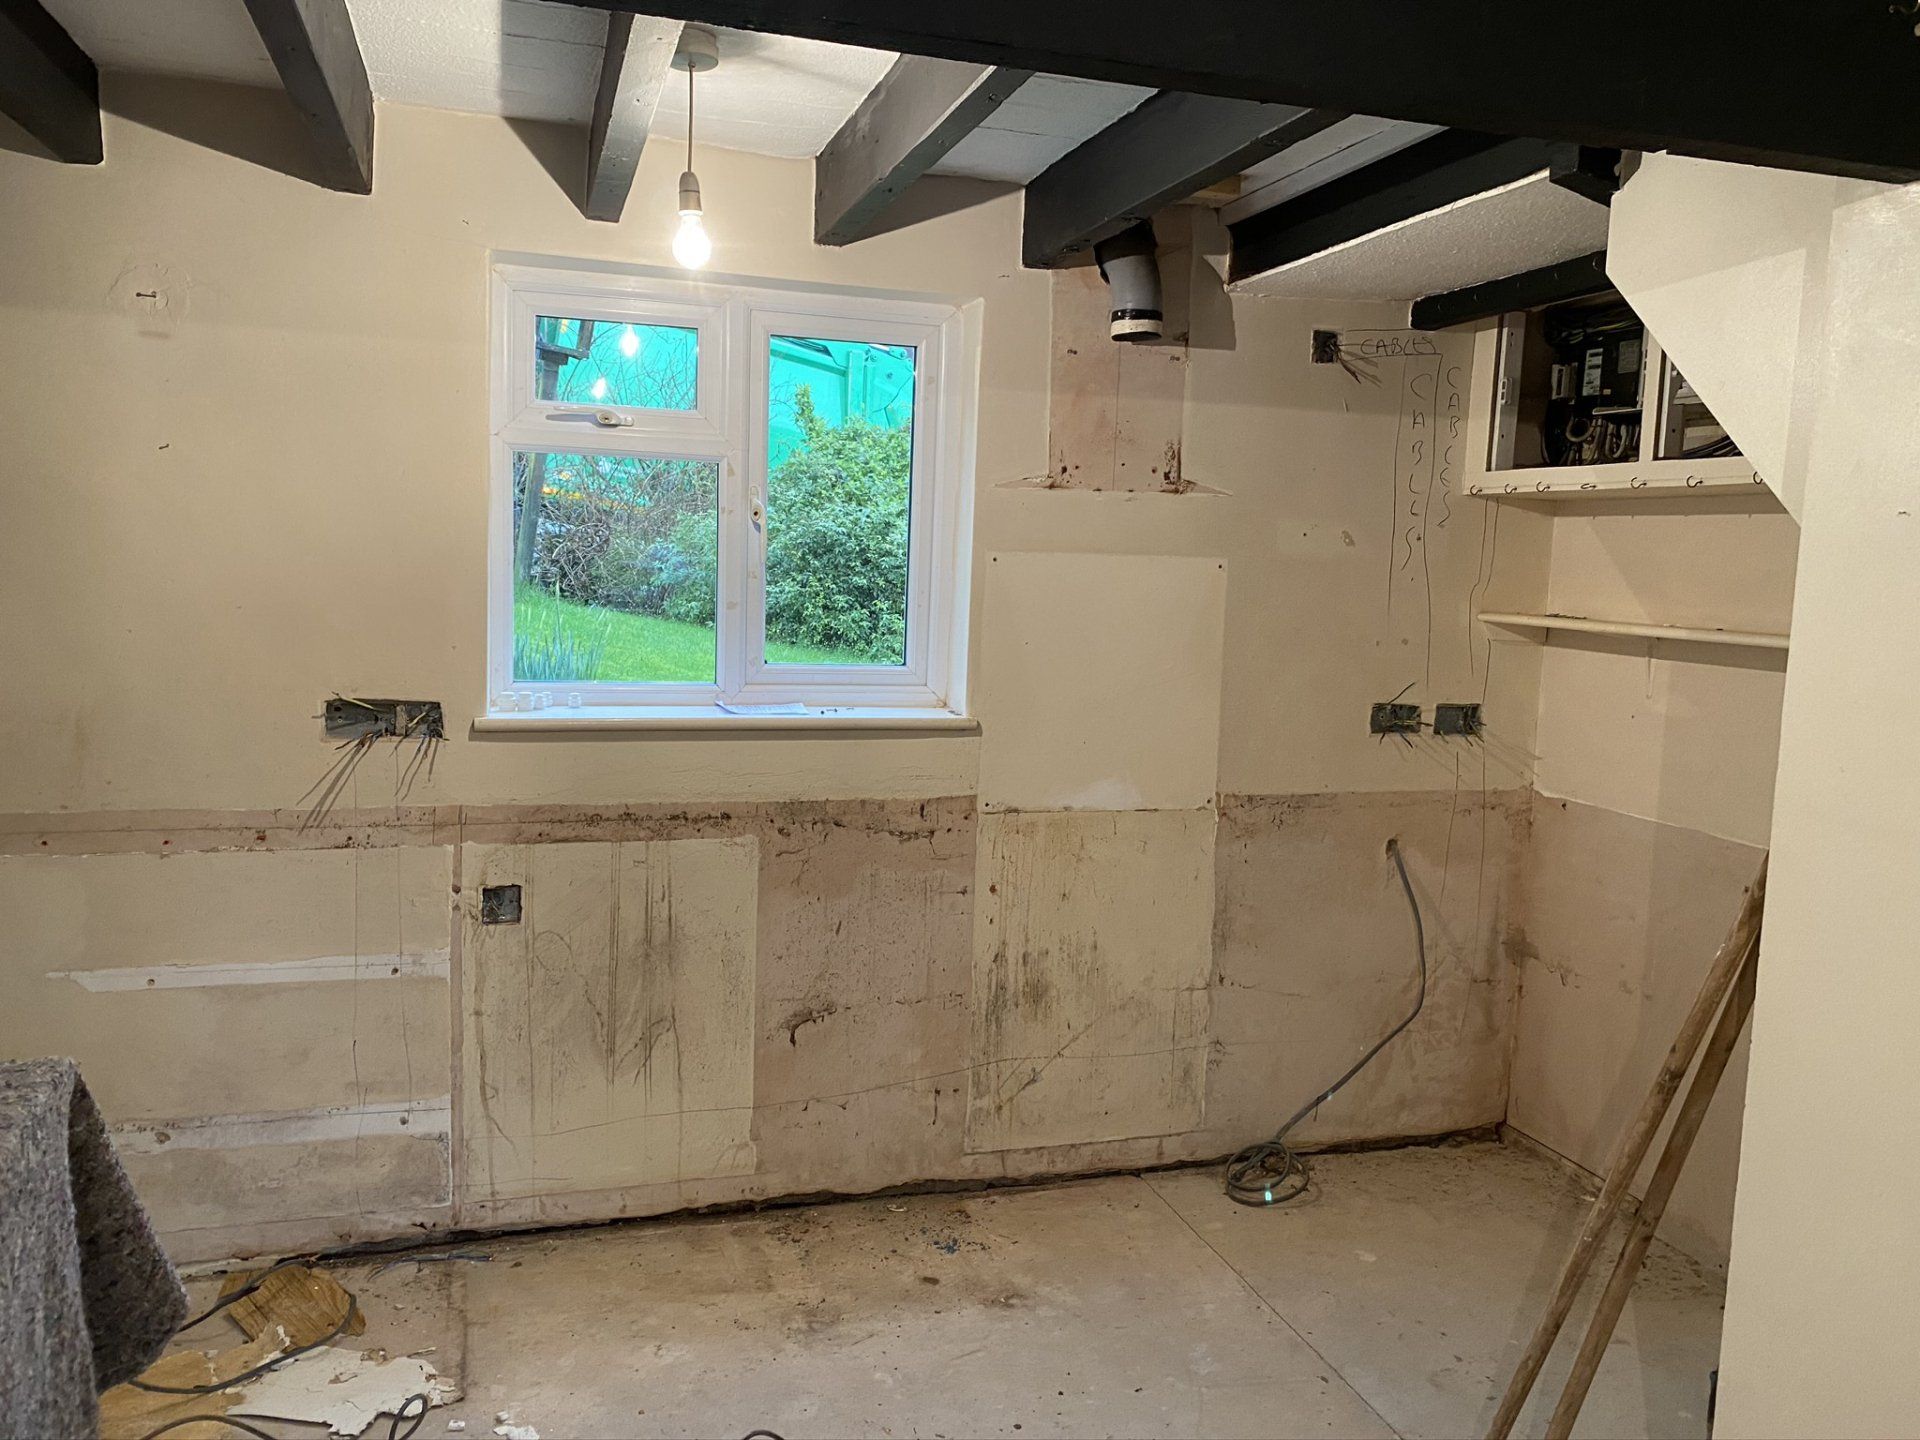
First we remove any old plaster from the walls surface. This also includes any loose debris, dust paint or render. Additionally remove any other items that shouldn't be there. Once the walls surface is free and clear of dust and any other rubbish wash it down thoroughly with fresh water.
Now, ensure that there is no active water seeping from the wall. If there is then you will need to create some relief holes and also a drainage solution. This can be a tricky job and will probably require expert advice so you will need to consult with us. We are always on hand to supply any required advice- call us on 07713279819. We take you through the correct procedures.
Now we apply a Salt Neutraliser to the surface to prevent any salts from compromising your new tanking layer. Salt neutraliser is typically a clear liquid that neutralises the salts found in masonry, plaster and render. If the plastered surface has not been too badly damaged by salts then in some cases it can save it by neutralising any that remain. In any case, it is a good idea to add as it will essentially future-proof any potential issues. Apply in two coats ensuring that you wet the surface with fresh water between each coat.
As the surface of the wall will be a little damp at this point, now is a good time to fill any holes with mortar, sand (make sure that the sand is washed, ask at your local builders merchants) and cement. Mix in a 4:1 ratio to ensure the correct consistency. It is also a good idea to add a waterproofer or plasticiser product such as Renderproof to the cement mix as this will aid in the cement bonding with the sand and prevent moisture passing through.
Next dampen the wall again and apply a coat of tanking slurry or solution to the walls surface. Tanking slurries will either come premixed or in a powder form. If in a powder form such as the one available from Property Repair Systems you will need to mix it with water (refer to manufacturers specifications for specific amount of water) until it develops a soup-like consistency. Once mixed correctly, apply it to the wall with a soft paste brush using horizontal strokes.
Once you have applied the first coat leave until it is tack free and then apply a second coat over the top, this time applying it using vertical strokes. By doing this you should then cover any holes or patches that you missed with the first coat.
Finally, leave your second coat to cure thoroughly. Once totally dry the surface can then be re-plastered with a renovating plaster, painted over with a microporous paint or traditionally rendered with sand and cement.
For the best service in and around Hereford please phone for a quote - 07713279819
For a survey please call or contact us using our contact page and we will get back to you as soon as possible.


All our damp proofing work is guaranteed and certified, so please get in touch if you require more information about damp or would like a consultation.

